Homemade Reese’s Cups with Vanilla Filling
Highlighted under: Classic Baking Ideas
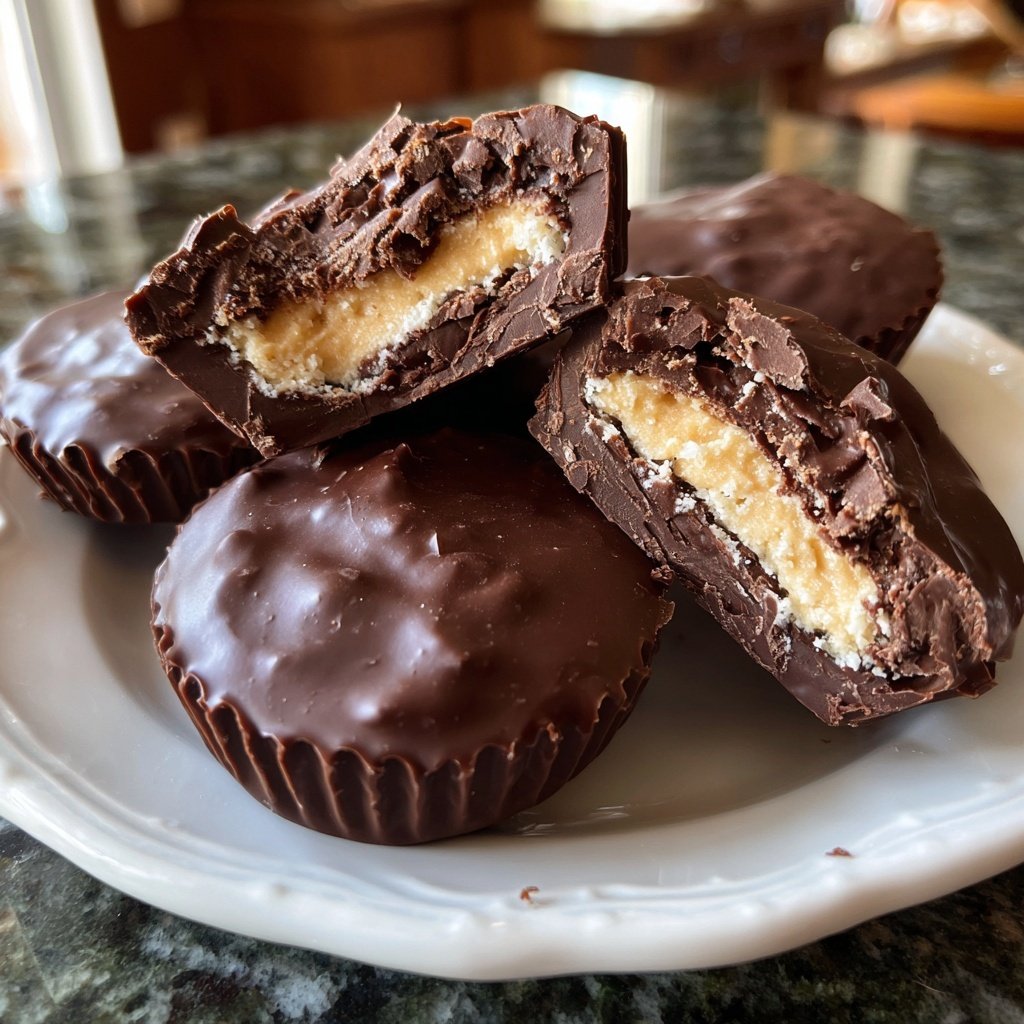
I absolutely love making my own version of Reese’s Cups, especially with a creamy vanilla filling that takes them to the next level. The combination of rich chocolate and smooth vanilla makes for a delightful treat that’s not just nostalgic but also incredibly satisfying. Making these at home allows me to control the ingredients while adding my own special touch. Plus, they are perfect for sharing with friends or enjoying as a personal indulgence on a cozy afternoon.
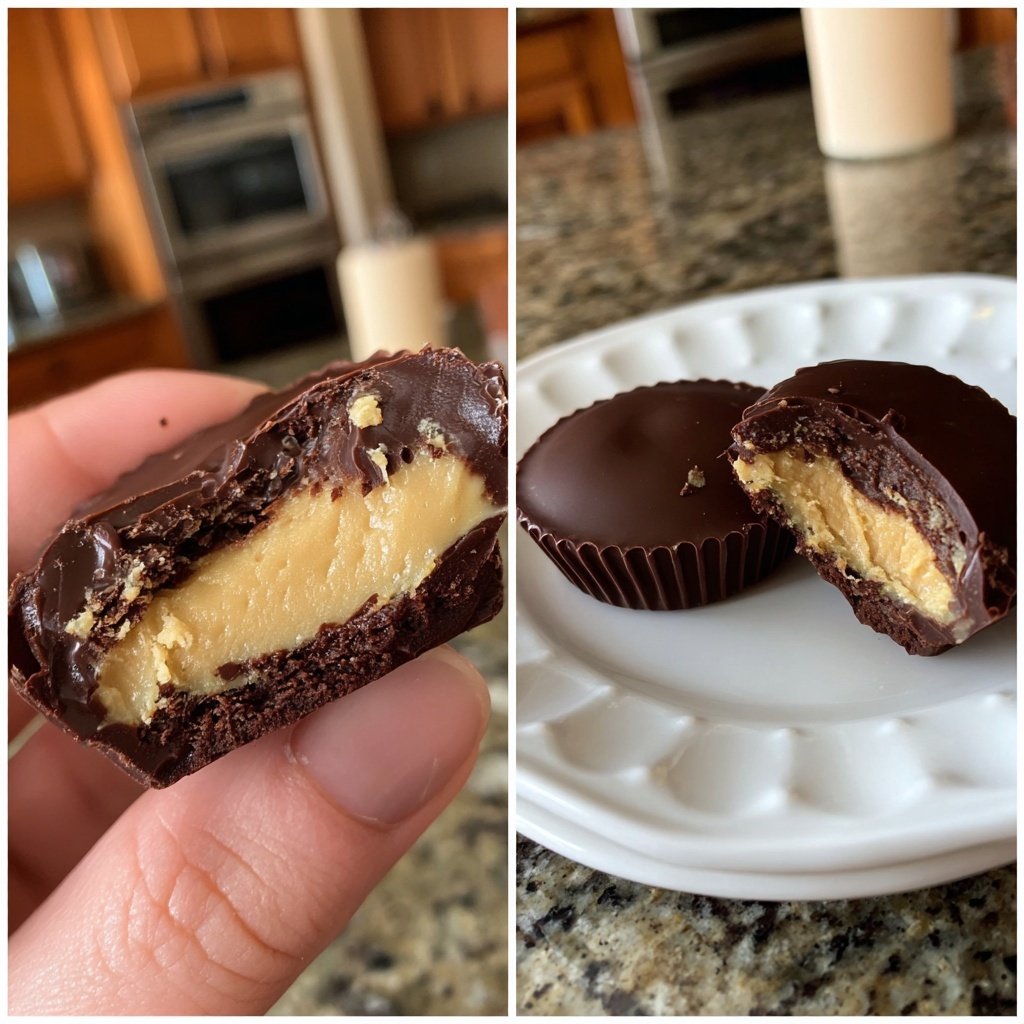
When I first tried making my own Reese’s Cups, I knew I had to find the perfect vanilla filling to elevate the classic flavor. I experimented with different ratios of butter and sugar, finally landing on a creamy consistency that complements the chocolate without overpowering it. The trick is to use high-quality chocolate for the coating, which adds a richness that pairs beautifully with the sweetness of the filling.
One tip I discovered along the way is to chill the filling before assembling the cups. This helps the filling hold its shape as you pour the chocolate over it. It also makes it easier to achieve a more refined look. Trust me, the extra effort is worth every bite!
Why You Will Love This Recipe
- Rich chocolate flavor paired with creamy vanilla filling
- Customizable with your choice of chocolate type
- Fun to make and perfect for parties or gifts
Mastering the Chocolate Coating
To achieve the perfect chocolate coating, choose high-quality chocolate chips for the best flavor. When melting the chocolate, it's crucial to stir frequently to prevent scorching. Microwaving in 30-second intervals allows for more controlled melting—stop once the chocolate is glossy and fully combined. If you notice any small lumps remaining after stirring, let the residual heat finish melting them; avoid adding additional heat as it can cause the chocolate to seize.
You can also explore using different types of chocolate for varying flavors. Dark chocolate adds a more intense taste, while white chocolate can be utilized for a sweeter profile. Just be mindful that varying chocolate types might require adjustments in melting time and temperatures. If your chocolate thickens too much, you can thin it slightly with a teaspoon of coconut oil or vegetable shortening, which helps maintain a smooth consistency.
Creating the Ideal Vanilla Filling
The vanilla filling not only provides a delightful contrast to the rich chocolate but also contributes a creamy texture essential for a satisfying bite. Make sure your butter is at room temperature before mixing; this helps achieve a fluffy consistency when beaten. Using powdered sugar rather than granulated sugar ensures a smooth filling without any graininess, giving it that restaurant-quality finish.
For a variation on the flavor, consider adding a bit of almond extract or other extracts like hazelnut to boost the vanilla essence. If you're looking for a dairy-free version, substitute the butter with coconut oil or a plant-based alternative, and use powdered sugar with a non-dairy milk alternative to make it smooth. Just keep in mind that texture may vary slightly, with coconut oil giving a more solid filling when chilled.
Storing and Serving Your Treats
Once your homemade Reese's Cups are set and ready to enjoy, consider how to store them. They can be kept in an airtight container in the fridge for up to a week. For longer storage, freeze them in a single layer on a parchment-lined baking sheet before transferring to a freezer-safe container, where they can last for a couple of months. Allow them to sit at room temperature for a few minutes before serving to soften slightly for the best texture.
These treats are excellent for sharing at gatherings or can be packaged beautifully in a box with parchment paper for a thoughtful gift. If you're looking to make a batch for a party, double or triple the recipe while extending the chill times slightly to ensure all cups set evenly. Enjoy the joy of treating yourself or spreading cheer with these delicious homemade confections!
Ingredients
Gather these ingredients to create your own delightful Reese’s Cups:
For the Chocolate Coating
- 1 cup semi-sweet chocolate chips
- 1/2 cup milk chocolate chips
For the Vanilla Filling
- 1/2 cup unsalted butter, softened
- 1 cup powdered sugar
- 1 teaspoon vanilla extract
- Pinch of salt
Make sure to have all these ingredients ready before you start!
Instructions
Follow these simple steps to create your delightful Reese’s Cups:
Melt the Chocolate
In a microwave-safe bowl, combine the semi-sweet and milk chocolate chips. Microwave in 30-second intervals, stirring after each, until fully melted and smooth.
Prepare the Filling
In a separate bowl, beat the softened butter until fluffy. Gradually add powdered sugar, vanilla extract, and salt. Mix until creamy and well combined.
Assemble the Cups
Line a muffin tin with cupcake liners. Spoon a layer of melted chocolate into each liner, coating the base and sides. Chill in the refrigerator for about 10 minutes.
Add the Filling
Remove the chocolate-coated cups from the fridge. Add a dollop of the vanilla filling to the center of each cup.
Finish with Chocolate
Top each filled cup with the remaining melted chocolate, ensuring the filling is completely covered. Chill again until set, about 15 minutes.
Serve
Once set, gently peel the liners away and enjoy your homemade Reese’s Cups!
Enjoy your delicious homemade treats!
Pro Tips
- For an extra twist, try using dark chocolate for a richer flavor or add crushed nuts to the filling for added texture.
Troubleshooting Common Issues
If your chocolate coating has a dull appearance or feels chalky, it may have bloomed, which happens when chocolate is improperly stored. Ensure you store your chocolate in a cool, dry place to avoid moisture and temperature fluctuations. If this occurs, you can remelt it carefully, but be aware that the texture may not return to its original smoothness.
Another common issue is the filling leaking from the cups. Ensuring the outer chocolate layer is thick enough is key—make sure to coat the sides generously and let it chill well before adding the filling. If you encounter leaks, don’t despair! A quick fix is to melt a bit more chocolate and carefully drizzle it over the hole to seal it up before chilling again.
Flavor Variations and Enhancements
Experimenting with flavors can elevate your Reese's Cups even further. Consider adding crushed pretzels, toffee bits, or chopped nuts into the vanilla filling for added crunch and flavor complexity. Another option is to layer in different fillings, like a caramel swirl or peanut butter, before topping with chocolate. Just make sure not to flood the space; a dollop is enough to maintain the integrity of the cup.
For a unique presentation, try incorporating colorful candy into your cups. Layered fillings with a combination of white chocolate and colorful sprinkles can add a festive touch, perfect for birthdays or holidays. Just be sure to adjust the chill time if you're making bigger or thicker cups to ensure they set well.
Questions About Recipes
→ Can I substitute the chocolate?
Yes, you can use dark chocolate or even white chocolate if preferred.
→ How should I store these?
Store the Reese’s Cups in an airtight container in the fridge for up to a week.
→ Can I double the recipe?
Absolutely! Just make sure to use a larger muffin tin or multiple tins.
→ Is it possible to make these dairy-free?
Yes, use dairy-free chocolate and vegan butter for the filling.
Homemade Reese’s Cups with Vanilla Filling
Created by: Tabitha Collins
Recipe Type: Classic Baking Ideas
Skill Level: Intermediate
Final Quantity: 12 cups
What You'll Need
For the Chocolate Coating
- 1 cup semi-sweet chocolate chips
- 1/2 cup milk chocolate chips
For the Vanilla Filling
- 1/2 cup unsalted butter, softened
- 1 cup powdered sugar
- 1 teaspoon vanilla extract
- Pinch of salt
How-To Steps
In a microwave-safe bowl, combine the semi-sweet and milk chocolate chips. Microwave in 30-second intervals, stirring after each, until fully melted and smooth.
In a separate bowl, beat the softened butter until fluffy. Gradually add powdered sugar, vanilla extract, and salt. Mix until creamy and well combined.
Line a muffin tin with cupcake liners. Spoon a layer of melted chocolate into each liner, coating the base and sides. Chill in the refrigerator for about 10 minutes.
Remove the chocolate-coated cups from the fridge. Add a dollop of the vanilla filling to the center of each cup.
Top each filled cup with the remaining melted chocolate, ensuring the filling is completely covered. Chill again until set, about 15 minutes.
Once set, gently peel the liners away and enjoy your homemade Reese’s Cups!
Extra Tips
- For an extra twist, try using dark chocolate for a richer flavor or add crushed nuts to the filling for added texture.
Nutritional Breakdown (Per Serving)
- Calories: 380 kcal
- Total Fat: 26g
- Saturated Fat: 15g
- Cholesterol: 195mg
- Sodium: 85mg
- Total Carbohydrates: 32g
- Dietary Fiber: 3g
- Sugars: 24g
- Protein: 6g